Tuesday, 21 February 2017

Cycle wiings and modified exhaust

No work has been done on this project since August 2016. Lots of fun was had on the track at both Forrestburn and Bo'ness hill climbs in the autumn last year.

It is time to renew enthusiasm again and tackle some of the development issues, the cycle wings is a good place to start.

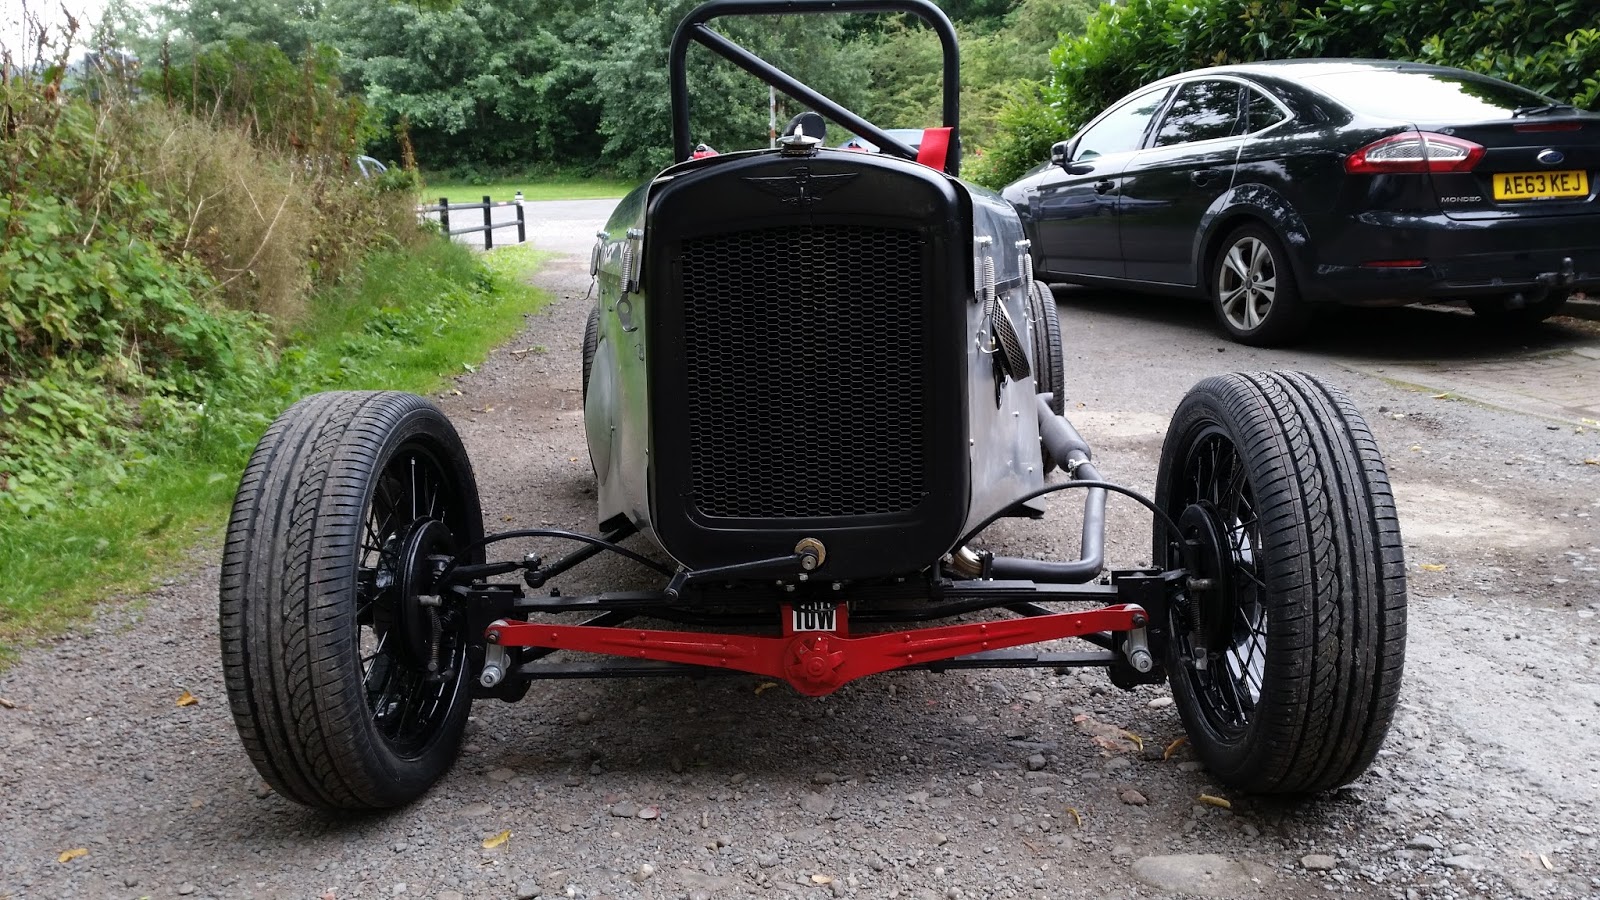
I managed to purchase some used 17" wheels from ebay (where else), after having them cleaned up by my favourite san blaster they came up looking well. I put some Longstone road tyres on them with a view to entering some car trials.

I drew up a diagram to  design the cycle wings I needed, however I discovered exactly what I required from a company called https://www.britishbikebits.com/. They have some universal alloy mud guards that for 18-19" wheels that exactly fit the tyres fitted to a 17" Austin seven wheel.

The challenge was then to design a method of attaching them to the Austin Seven brake back plates. This is no easy task but eventually decided on a design approach which was initially implemented in cardboard (of course).

 The above half moon back plate (above)was fabricated for each corners. The back plates were attached by 6mm cap head screws to the existing brake back plate..The rest of the wing stays etc were fabricate in 2mm thick x 15mm ERW tubing + some 20mm flat plate on the ends to secure the wings.


 The above image shows the flate plate to attach the wings.


 Wing stays cut to size ready for welding

The final result


I am very pleased with the final result, it has transformed the look of the car.

Exhaust mods

One consequence of fitting larger wheels and cycle wings is the exhaust fouls the offside wing on full lock. This was sorted with some new 38mm bends in the front section of the exhaust assembly.

Update 4th Aug 21

These wings and wheels still exist but have been upgraded with 5" rims and cycle wings to match. The original wheels and wings can still be fitted if someone wants a more period look. The stock cycle wings were not wide enough for my track wheels so I used an air fed plenishing machine to adjust their width (noisy beast).




Here is an Index page for the build


Friday, 26 August 2016

Taking stock (2)


1937 Austin Seven Ruby

converted to

Super Accessories - (Super 750) Special


  • Chassis, back axle, steering, engine and transmission all from 1937 Austin Seven (955 UXF).
  • Engine rebuilt by Alba Austins in Glasgow, Super Alloy head, twin 1-1/8” SU carburettors, custom exhaust.
  • Front suspension: Bowden independent from the 1950's.
  • Wheels 4-1/2” custom built by Barry Brown in Windygates, Fife.
  • Racing seats manufactured by Hunts, USA.
  • Fuel tank custom built by Simon Hall, SiFab Ltd Warwickshire.
  • Custom roll over protection bar by Performance Protection.
  • Bodywork by Reynolds Fabrications with the help of Aliblast and David Taylor, Linlithgow.
  • Cherry Bomb” exhaust.
  • Radiator to fit custom cowl by Newquay Radiators, Cornwall.

To do:-

  • Fit mudguards all round.
  • Repair the bodywork removing unsightly holes.
  • Lights and indicators before running on public roads
  • Vintage tyres for car trials
  • Aero-screen and rear view mirrors


The images shown above were taken just prior to entering the Monklands Sporting Car club Hill Climb event 27th August 2016.

Here is an Index page for the build


Thursday, 4 August 2016

Seat belts

As part of the safety on this build seat belts have been conceived from the start. The lower mounts are on the chassis and the top mounts are part of the roll over protection.


Here is an Index page for the build

Creating a front body

The kit of parts I purchased did not include the front metalwork, all of that has had to be fabricated from scratch. Super Accessories never supplied the front metalwork as every car was different according  to their build guide from the 1950's.

Fortunately I had a good place to start in that I created the front skeleton of the car in tubular ERW steel box section on which I can now hang the alloy panels. I used ERW box as this I hope will help stiffen the chassis. I deliberately kept the design simple and very close to the original design. I therefore envisaged  only 4 main panels at the front.

1) Side panels 2 off with a bulge in the lhs to increase the foot well area and a cut-out for the SU carbs on the rhs.
2) Front bulkhead cover panel or instrument binnacle.
3) Bonnet (one piece).

The rear bodywork needs tidied up but that can wait for now the challenge is to enter an event this year.

I decided that both the side panels would be made from 1mm alloy and be wire edged to improve safety,stiffness and durability. The first image shows the usual starting point a cardboard model. I must have made a good job of the ERW fabrication because the cardboard model was sufficient for both sides.

Simple cardboard model is sufficient

Panells cut out and wire edged and protected with tape

First offering up rhs.


Bolted in place lhs

The bonnet

This part of the build was most feared by me as distortions in forming it would be most obvious to anybody looking at the car. I decided to make a "buck" to assist in this part of fabrication. A buck is necessary in order to try out the fabricated bonnet for shape before trimming it to length. The bonnet sits in the instrument binnacle and radiator recesses. The buck was made out of scrap bits lying about the workshop namely some scaffold poles and some angle iron left over from a motorbike packing case.


What started out as a cardboard model of the front side panels and the fabrication of a buck has resulted in a pleasing front bodywork.

Here is an Index page for the build

Friday, 22 July 2016

Wheels and tyres

The big problem with the original wheels is they are 18" and any reasonably proportioned racer special the wheels need to be smaller preferably 15". I decided on 16" as road going tires start at this size or so I was told. I got Barry Brown in Fife, Scotland to make my wheels. A friend lent me a drawing for the wheels he had made for his special.


The ideal size of tyre would be 165 x 70 x R16 but the only one I could find close to that was a 50 profile. Not a wonderful size for a vintage racer however adequate for my first hill climb.

Here is an Index page for the build


Friday, 1 July 2016

Taking stock

The challenge in my mind has always been the Bo'ness hill climb,  my entry is now confirmed for this year Sunday 4th September 2016.

The things still to do are considerable.

* Finish welding the roll over protection bar and install seat belt mountings.
* Petrol cap wire
* Tow point labels
* Front bonnet and side panel fabrication (a lot of work).
* Fuel gauge calibration
* Attach the bodywork and floor properly
* Get tyres and tubes for wire wheels then fitted
* Steel wheel nuts


Oh dear what have I done?

Here is an Index page for the build

Shock absorbers

I decided to keep the original friction shock absorbers. They suit the period implementation of a Super Accessories Special from the 1950's. I can always fit hydraulic dampers at a later date.

Front

Rear
The devices are totally restored and in the case of the rear, remanufactured parts were obtained. Painted in red to highlight them against the suspension.

Update 4th Aug 21

The front shock absorbers have been replaced with independent stainless fabrication and was instrumental in the performance improvement I see today. 

Here is an Index page for the build